Whew! With the completion of the bookcase, I finally finished the boys' bedroom redesign. I have to say, I love it! I feel like I was able to maximize the space available - 100 square feet - and add a lot of color without even being able to paint any walls. Would you like to know what the biggest design challenge was? Surprisingly enough, I'd say it was that corner window. When we first looked at this apartment 5 years ago, before we had kids, I knew I wanted it when I saw the giant walk-in closet in the master bedroom AND that corner window. I have always loved them. I can't tell you why. This one is glorious. It faces North and East and gets the most fabulous morning light. BUT, it makes it really hard to place furniture - especially two little beds. So that is why the furniture arrangement might look a bit arbitrary - trust me, the woman who lays out everything to-scale before moving any furniture - this was the ONLY way it would work. I was determined, since the window sills are low, to not put a bed in front of the window. I'll get more to window-safety in my true-confessions part at the end.
This whole transition-to-a-big-boy-room thing started back in April when the little one attempted a Superman-esque dive from his crib. He ended up high-centered on his tummy (somewhat thankfully) and at that point, we knew it was time to make the move. We had originally wanted to wait until he was as old as possible to move him out of his crib so we could go straight to bunkbeds, but this was a game-changer. Lucky me, I found a matching blue Mammut bed on craigslist the very next day for quite a steal-of-a-deal (and it was in mint condition - amazing). My budget was pretty much whatever I could sell the rocking chair and the low 6-drawer dresser for (and I threw selling our double stroller which we were no longer using into the mix to give me a little more to work with). So, with two blue Mammut beds, a small room, not much of a budget and a request for GREEN, GREEN, GREEN from the older half of the peanut gallery, I started wracking my brain for inspiration. It took a long time to come up with it, but during a wander through Target, I found these white/black cityscape pillows which I loved and I immediately knew I wanted to do black/white with blue/green accents. I found fuzzy black blankets to go with their plain white Ikea sheets (the Mammut is a weird size that is neither crib-size nor twin-size so I can only buy sheets for it at Ikea). A couple of days later, I found these postage-themed decals on a deal-a-day website and I knew they needed desperately to go on a Hopen dresser. While I was at Ikea for said dresser, I grabbed the green chairs and little tables and it started to come together in my mind. I was on a roll. Since I like moder, clean-lined furniture and I'm on a budget, Ikea is my friend. The problem with this, though, is with a house full of Ikea, it's hard to make it look unique and different and NOT straight out of one of their catalogs (inspiring though they are). Enter the bookcase which we already had: I decided to paint the bookcase some sort of bright color and figured I would probably never match that bright Ikea blue, so maybe I should go for green. It stopped me in my tracks - I was afraid to begin that particular project. Three months later, I got up the nerve to paint it finally and that is a story for the previous post.
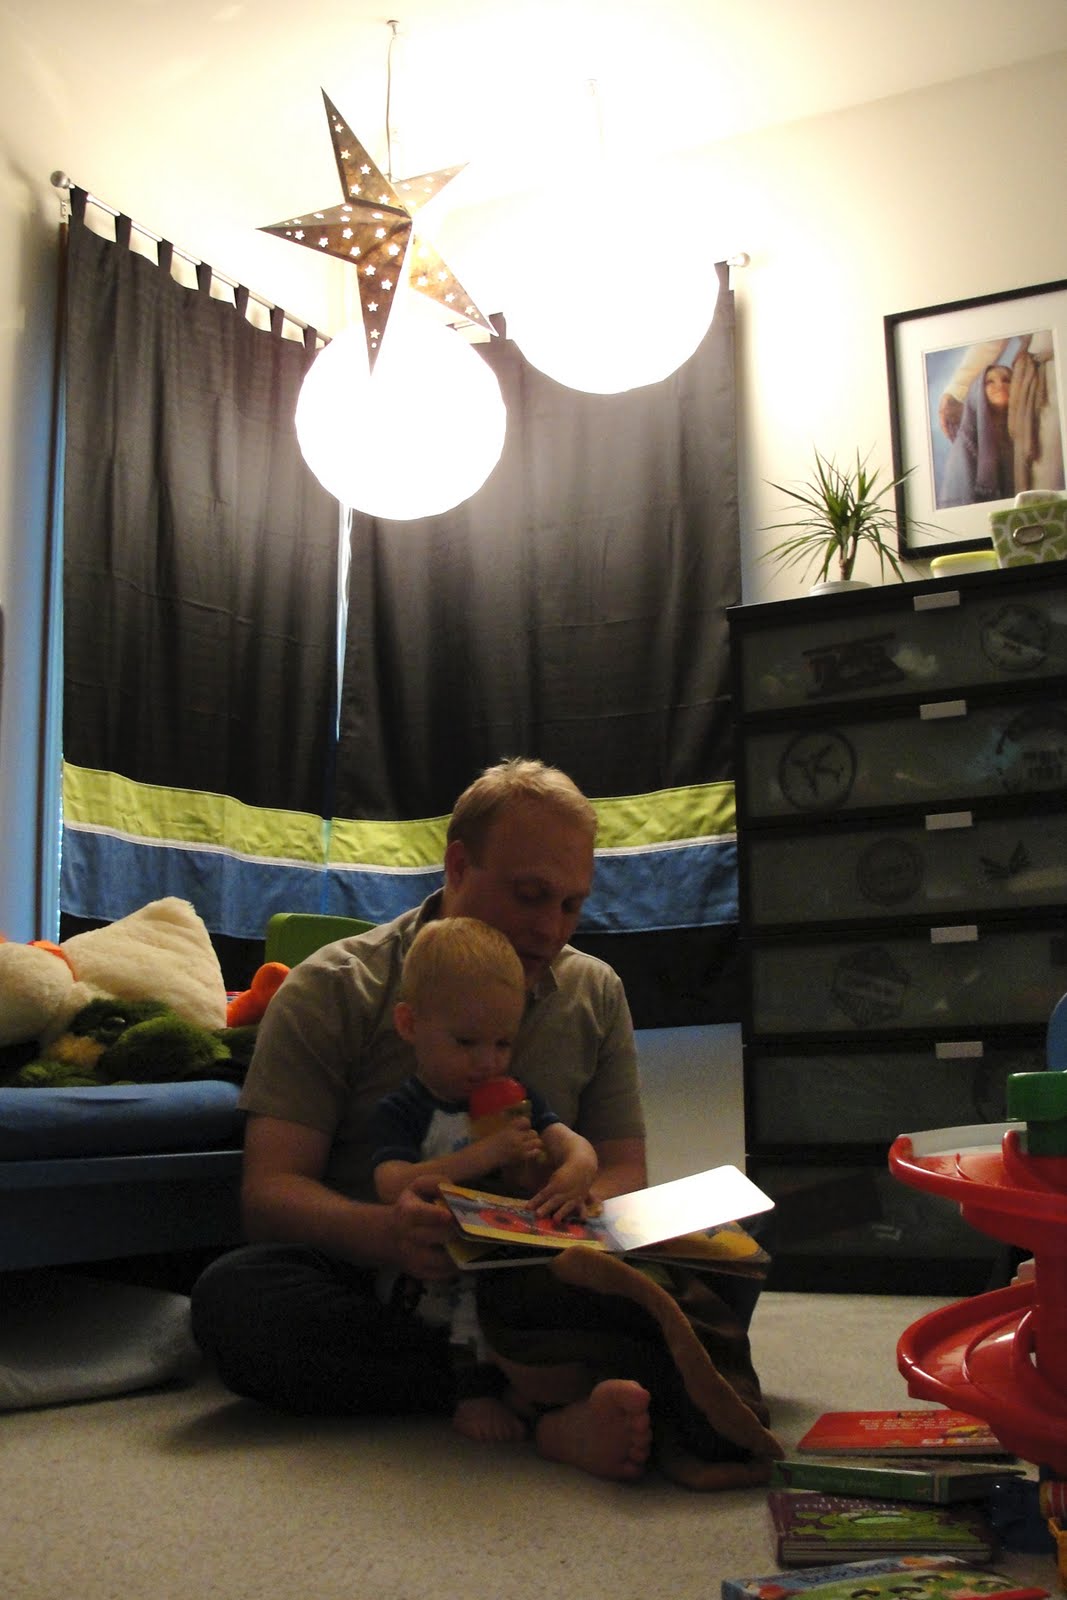
About the artwork. The painting of the child with Jesus was the first thing I bought when I found out I was pregnant with our older son. I love it and it is special to us also given the importance of religion in our home. It deserved the prime above-the-dresser real estate. I found the London map at an art store - it's actually a piece of wrapping paper. The name-art, I made also and can be found in a previous post on here too, as well as the footprints. The whiteboard and clock are me being functional. The globe is our tactile attempt to help our sons understand the concept of "earth" and "the world."
The plant. I believe every room with a window should have a live plant. I like to think it's good for the air we breathe.
Now, if you're wondering how this is so clean and tidy, let me tell you I am a master closet-organizer and every square inch is well-used (their closet even stores the crib). Our living room also has a fair amount of bin-storage for toys. My main goal is always that every toy has a home that is not the ground. It works most of the time, except for some of the bigger trucks and a large plastic parking garage (not shown). I find that if everything has a home, our whole house stays much cleaner and things rarely ever get truly lost.
I love how the room turned out! It is sophisticated, but comfortable for little boys. The boys love to play in there and find it calming enough to sleep (another reason to keep as many toys out of direct site as possible). The green bookcase, in particular, is a huge hit.
Lastly, the true confessions: 1) I actually use ugly, shallow plastic bins to store things under the boys' beds like sheets and part of their enormous car-collection. 2) There is usually a kiddie-gate over the window that opens. The window has a lock on it and an interior screen, but I am so nervous about it that we never open it and I keep the gate over it at all times (we live a few stories off the ground surrounded by much concrete). 3) There are many more stuffed animals that lay around on beds, but who really wants to see those? I have tried many times to "edit" the collection, but my sons always protest.
***To view all of the posts related to the creation of this room, click on "decor" in the labels collage to the left.***
And now on to the pictures:
Let me just point something out about my younger son's bed: the edge. Since he is very young (just turned 2 last weekend) and a very active sleeper, I knew we needed something to keep him in his bed, but I didn't want to go out and buy one of those rail-things. Instead, I discovered that a pool noodle was the exact same length of the bed (Mammut-owners take note) and I could tuck it under the sheet. It works perfectly and only cost $2!