Confession: now that I have three boys and have been solely in the boy-camp for a lot of years now, I find myself completely and totally overwhelmed in the baby girl section of any store. I pretty much freeze and am unable to pick anything out for gifts. I am just so far out of my comfort zone. It's a little bit funny. In fact, the further away from having a baby I get, the more overwhelmed I am by the purchase of any baby stuff.
So, when I decided to co-host a baby shower for a friend who was having her first girl, I decided to make her gift from me be the diaper cake which served as the décor for the shower.
I had never made a diaper cake before, but decided to do some research and figure it out. It turned out to not be a big deal to construct. I had come up with how I wanted it to look, and went to work on it.
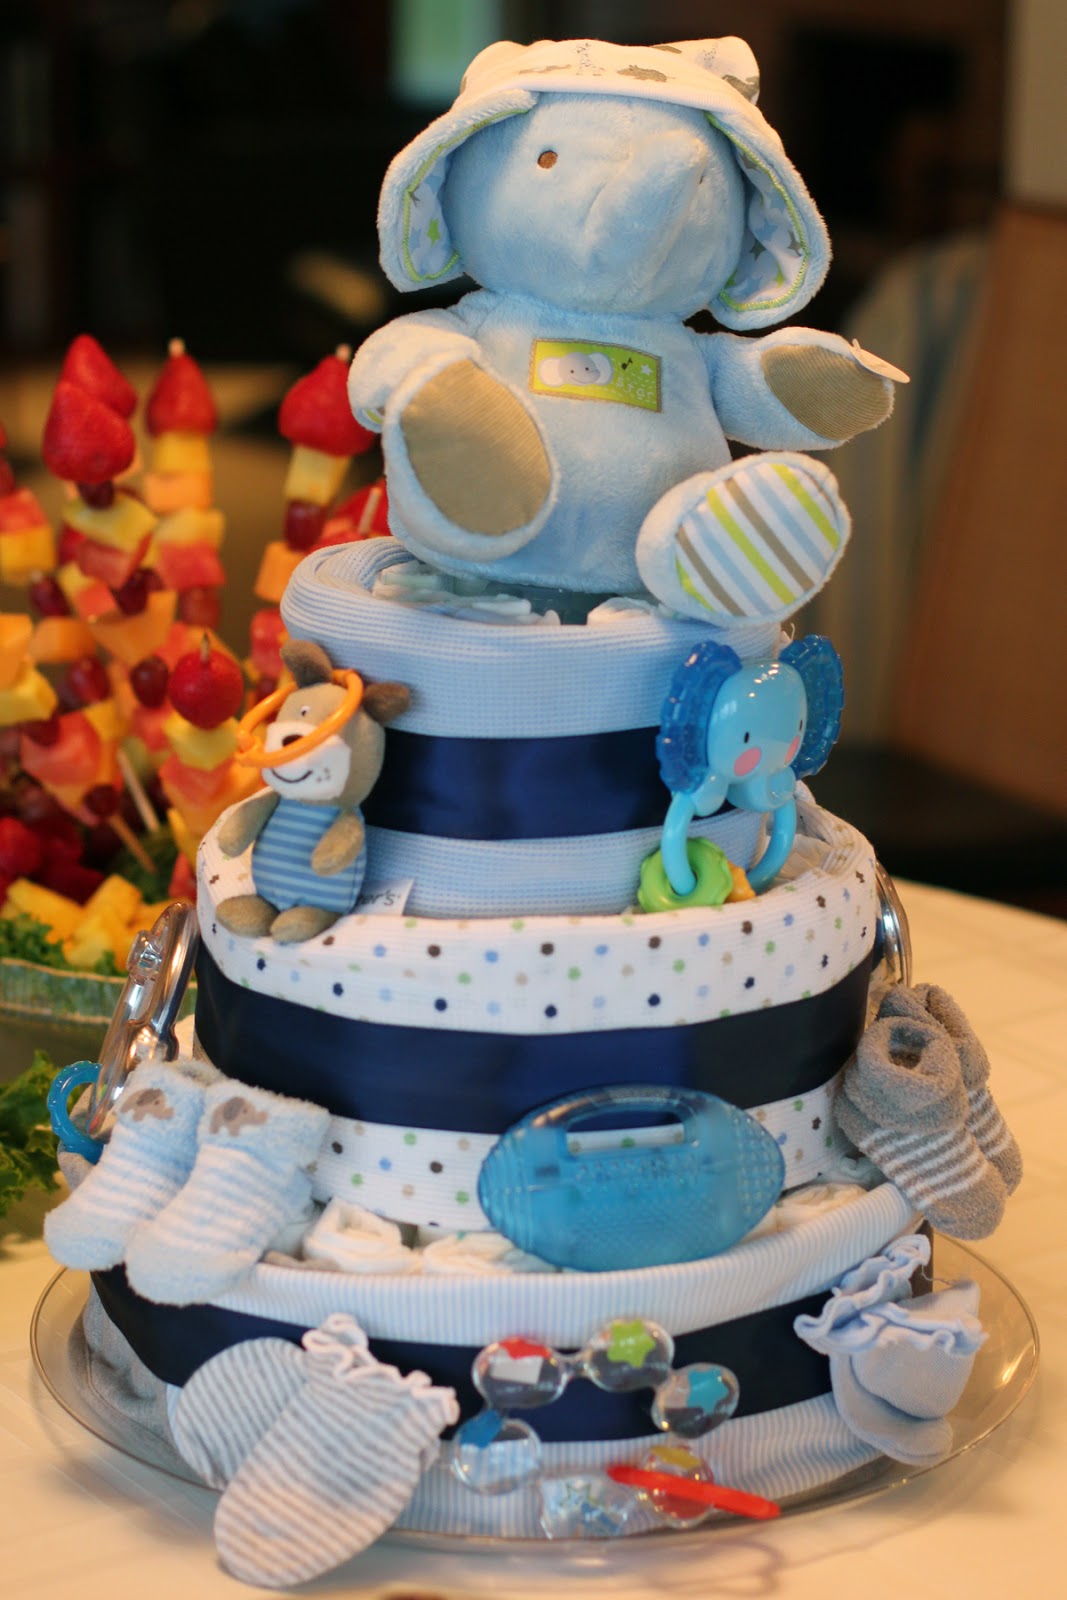
This cake required 118 diapers (two packs of 59 size 1 Babyganics diapers), a wood dowel cut into a couple of pieces the height of the cake for stability, a $2 charger plate from Michael's, a spool of ribbon, and 3 identical silk bouquets from a $5 bin at Michael's. The mother liked peonies, and the flowers I chose seemed like they could either pass as peonies or roses. I loved the color scheme - sort of peachy-pink, hot pink, and red.
To construct the cake:
1) Roll all diapers individually with a rubber band, tucking the colored band inside so that most of what is visible is just white diaper.
2) Then group the diapers in rounds, wrapping a rubber band around each ring. Create each of the three tiers this way.
(This is the bottom layer with the charger underneath.)
3) Stack them on top of the plate, individually.
4)Work the dowels down into the cake and cut them off so that they are flush with the top of the cake. The dowels keep the cake remarkably sturdy.
5) Wrap the ribbon around the center of each cake layer tightly, and hot glue the ribbons together, but if possible, do not hot glue to the diaper (it won't be usable which is not the end of the world, but not the goal).
6) Arrange the flowers around the cake and if necessary to anchor with glue, try to hot glue the flowers to the ribbon, instead of the diapers, again, so that the diapers remain functional.
And that's it! It looks great, makes a nice centerpiece, and gives the mom-to-be a boost on diapers! I'm totally going to make another one of these if I get the pleasure of hosting another shower one day.
Showing posts with label party planning. Show all posts
Sunday, May 20, 2018
Wednesday, September 7, 2016
Birthday Zombies
The final birthday cake request of the year came from my middle son. He wanted a Plants vs. Zombies cake. Again, I didn't find a lot of (amateur) PvsZ cakes on Pinterest, so I had to go my own route. This one is actually really easy to make as long as you own a set of THESE - no, I didn't make fondant creatures because who has time for that???
So, here are the mechanics of the cake:
1. I made my cake of choice (he wanted lemon with a lemon curd filling) in two standard-sized square cake pans.
2. I frosted the cake with regular ol' white buttercream frosting.
3. I scored a 6x6 checkerboard pattern into the top of the cake lightly with a butter knife.
4. Using two different shades of green frosting, and a leaf/grass frosting tip, I filled in each square in different directions to create the "game board."
5. I took the left-over green frosting and created grass blades on the sides of the cake, just to give it a little extra flair.
6. I placed the figurines in a somewhat believable manner.
Voila! PvsZ cake that took very little time.
Here it is with its thrilled recipient!
Labels:
birthdays,
cake,
party planning
Sunday, June 12, 2016
Birthday Dinosaur
We celebrated my youngest's third birthday this weekend. More than anything, he wanted a blue stegosaurus cake. I enjoy a cake challenge (I really do), so I spent a good couple of weeks thinking about it and was really anxious to make it a reality.
I didn't take any photos of the process, mostly because I had food coloring and frosting all over my fingers, but I can describe the process for anyone who might want to recreate it.
Here goes...
The body:
~I started with three round 9" cakes and one 8" square.
~I cut off about 1/3 of each of two round cakes for the body, and stuck them together with a lot of frosting.
~The third round cake I cut out the tail (sort of a J shape, that I then had to tweak when I put the whole thing together).
~Out of the left-overs of that third round, I cut the head - sort of half an oval that was two cake-widths wide.
~I cut the 8" square into 4 equal pieces and then cut one leg out of each quarter.
~There were some left-over chunks, and so I used those to add shape to the head and a couple of triangles to connect the flat tail piece to the hump of the body.
~Then after I put the whole thing together, I frosted the heck out of it.
The spikes:
~I created the shape of one of the spine on a piece of paper. Then I laid it under a large piece of wax paper on the counter.
~I purchased a bag of candy melts at the craft store (in a dark blue color).
~I melted them in a pyrex bowl in the microwave and then poured the contents into a squeeze bottle.
~I traced the shape of the spines and then also filled them in with the melted candy. Moved the paper and traced over again. Repeated a bunch of times. Then I made a few smaller spines.
~I stuck two toothpicks in each of the big spines lollipop-style, so I could easily connect them to the cake later.
~I was having so much fun making stuff with the melted candy in a squeeze bottle that I made a bunch of embellishments that I wasn't sure what I was going to do with.
~After everything dried, I took a knife and trimmed all the spines so they were nice and sharp.
After I frosted the cake, I added all of the spikes and threw on some embellishments. Then, because where the cake meets the plate/cookie sheet/whatever always looks messy, I added some "grass" and "dirt" with the leftover frosting.
This might be my favorite kid-cake that I've ever made. I was really sad when we cut into it. Here is my masterpiece!
The birthday boy loved his cake!
We also had stegosaurus fruit salad. It was a fun party theme!
Labels:
birthdays,
cake,
party planning
Sunday, June 15, 2014
Birthday Monster Bash
Dusting off the ol' blog here. It has been a LONG while since I posted mostly due to the little munchkin who's birthday celebration got me thinking I should write something again. I hope to write another post about colic, because that has made this past year memorable - and not in the best sense.
Anyway, our littlest guy turned one this past week and so we had a big party for him - since, after all, it is our last first birthday party. My older boys call him "monster" because he crawls and wrecks all their stuff, and the aforementioned many months of colic, so we decided to have a monster-themed party. I did a lot of research on pinterest to get ideas and then I gave it my own interpretation. I knew I wanted to made a "furry" orange monster smash cake. I knew I wanted a monster-watermelon fruit salad. We had to serve Odwalla C-monster drinks because he is our little C-Monster. The rest just sort of evolved as I was preparing for the party. It was great fun and I think it might be my favorite party theme of all the parties I've thrown for my kids.
I tried out marshmallow fondant for the first time. It was fairly easy to create and work with. Pretty easy stuff. I halfed the recipe I found online and had more than enough to create noses, horns, eye brows, etc. It is simply half a bag of marshmallows microwaved with 1 tbsp. of water, then you stir in 2-3 cups of powdered sugar and the color of your choice. Then stir and knead until you get a workable consistency. You have to keep it covered constantly or else it begins to dry out instantly. I also tried out a new frosting tip to create the fur. I like how it turned out but that particular tip (usually used for grass) requires a lot of strength. The whites of the eyes are two halves of a big marshmallow. And that is a small cake-sized paper plate - so it's not a huge cake.
The cupcakes were a lot easier. I used halves of small oreos for the eyes, with a mini chocolate chip for the eye.
The full spread. We chose to serve foods that are favorites of our birthday boy. He loved dinner.
I thought the fruit salad was really the crowning achievement. I love how it turned out. Secret to creating fun watermelon creations: use one of those cheap little pumpkin-carving knives. It worked SO WELL. Then I scooped out the insides and filled it with the salad.
Our birthday boy with his party hat. I bought cheap party hats at the party store and embellished them with monster eyes. He wore it for exactly long enough for me to snap a single picture, so absolutely no need to spend a bunch of money on one of those custom-made first birthday hats. I feel lucky to have the picture.
A happy birthday to our littlest one and hopefully I will think of more things to blog about soon.
Labels:
birthdays,
party planning
Sunday, October 14, 2012
Baby Shower!
My sister is having a baby boy in January. She lives in Utah, but she was home for the weekend, so we had a party for her. My mom and I love putting together a good party. If it wasn't for potentially awful clients, we might someday consider a catering business. For now, these little parties are enough party-planning for me.
Pinterest is very helpful for these sorts of things. We borrowed the idea for blue punch with duckies floating in it. Awesome. My other sister found a great recipe for anitpasto skewers. Also wonderful. My mom made a diaper cake.
One thing I couldn't find anywhere online was a decent, non-embarrassing or lame, baby shower game. The closest I found was a list of baby-shower-related themes related to candy bars. I decided to take this one step further and create "A Baby Story" where the guests had to fill in the right candy bar in all the blank spaces. I had one of each of these candy bars on a tray in the middle of the room. It was just hard enough that most people were groaning, but easy enough that one person actually got all the answers right. I found all the candy at two stores - which didn't seem like too terrible of a hunt to me. Hmm...I can't upload a pdf. I'll just insert the text and if you use it, you'll have to format it yourself (sorry!).
A Baby Story...
Just mere months ago, the mother-to-be was a bit concerned that she always needed to ________________. She discovered she was pregnant!
While discussing the future, the new mom and dad often refer to the baby as _____________________ because they have not yet decided on a name. If it is a girl, they might name her ___________________. If it is a boy, they might name him ___________________. Twins? Maybe _________________.
They hope their little bundle of joy will be a _______________, but not an 11 lb ____________________.
They are preparing for the _______________________ to the hospital which is
located on ________________________. There, the mom-to-be will have many
contractions _______________________. She will find that the labor and
delivery nurses are _______________________. When the baby is born, he/she will receive lots of ___________________.
Then the fun starts. After paying the hospital _______________, they will get to bring Baby home. The new mom will feel like a _____________________ while
receiving only a _____________________ to sleep. She might occasionally _____________________ to have a snack. The new dad will love changing all those ___________________. They will both soon get used to spending their whole ___________________ on baby essentials. To little Baby, though, life and lullabies will be a wonderful ______________________.
Here is the key:
A Baby Story...
Just mere months ago, the mother-to-be was concerned that she always needed to MUNCH. She discovered she was pregnant!
While discussing the future, the new mom and dad often refer to the baby as WHATCHAMACALLIT because they have not yet decided on a name. If it is a girl, they might name her BABY RUTH. If it is a boy, they might name him OH HENRY. Twins? Maybe MIKE AND IKE.
They hope their little bundle of joy will be a ROLO, but not an 11 lb WHOPPER.
They are preparing for their ROCKY ROAD to the hospital which is located on FIFTH AVENUE. There, the mom-to-be will have many contractions NOW AND LATER. She will learn all about how the labor and delivery nurses are SWEET TARTS. When the baby is born, he/she will receive lots of KISSES.
Then the fun starts. After paying the hospital 100 GRAND, they will get to bring baby home. The new mom will feel like a MILKY WAY while receiving only a FAST BREAK to sleep. She might occasionally TAKE 5 to have a snack. The new dad will love changing all those MILK DUDS. They will both soon get used to spending their whole PAYDAY on baby essentials. To little Baby, though, life and lullabies will be a wonderful SYMPHONY.
Labels:
party planning
Subscribe to:
Comments (Atom)

